


Here are all my supplies, the color box and versa mark are two different stamp pads, I will get into that later. Silver embossing powder and my stamp --this is a damask-ish design that will carry through on everything in the wedding.


I am sure you all know how to stamp something, make sure and apply pressure evenly.
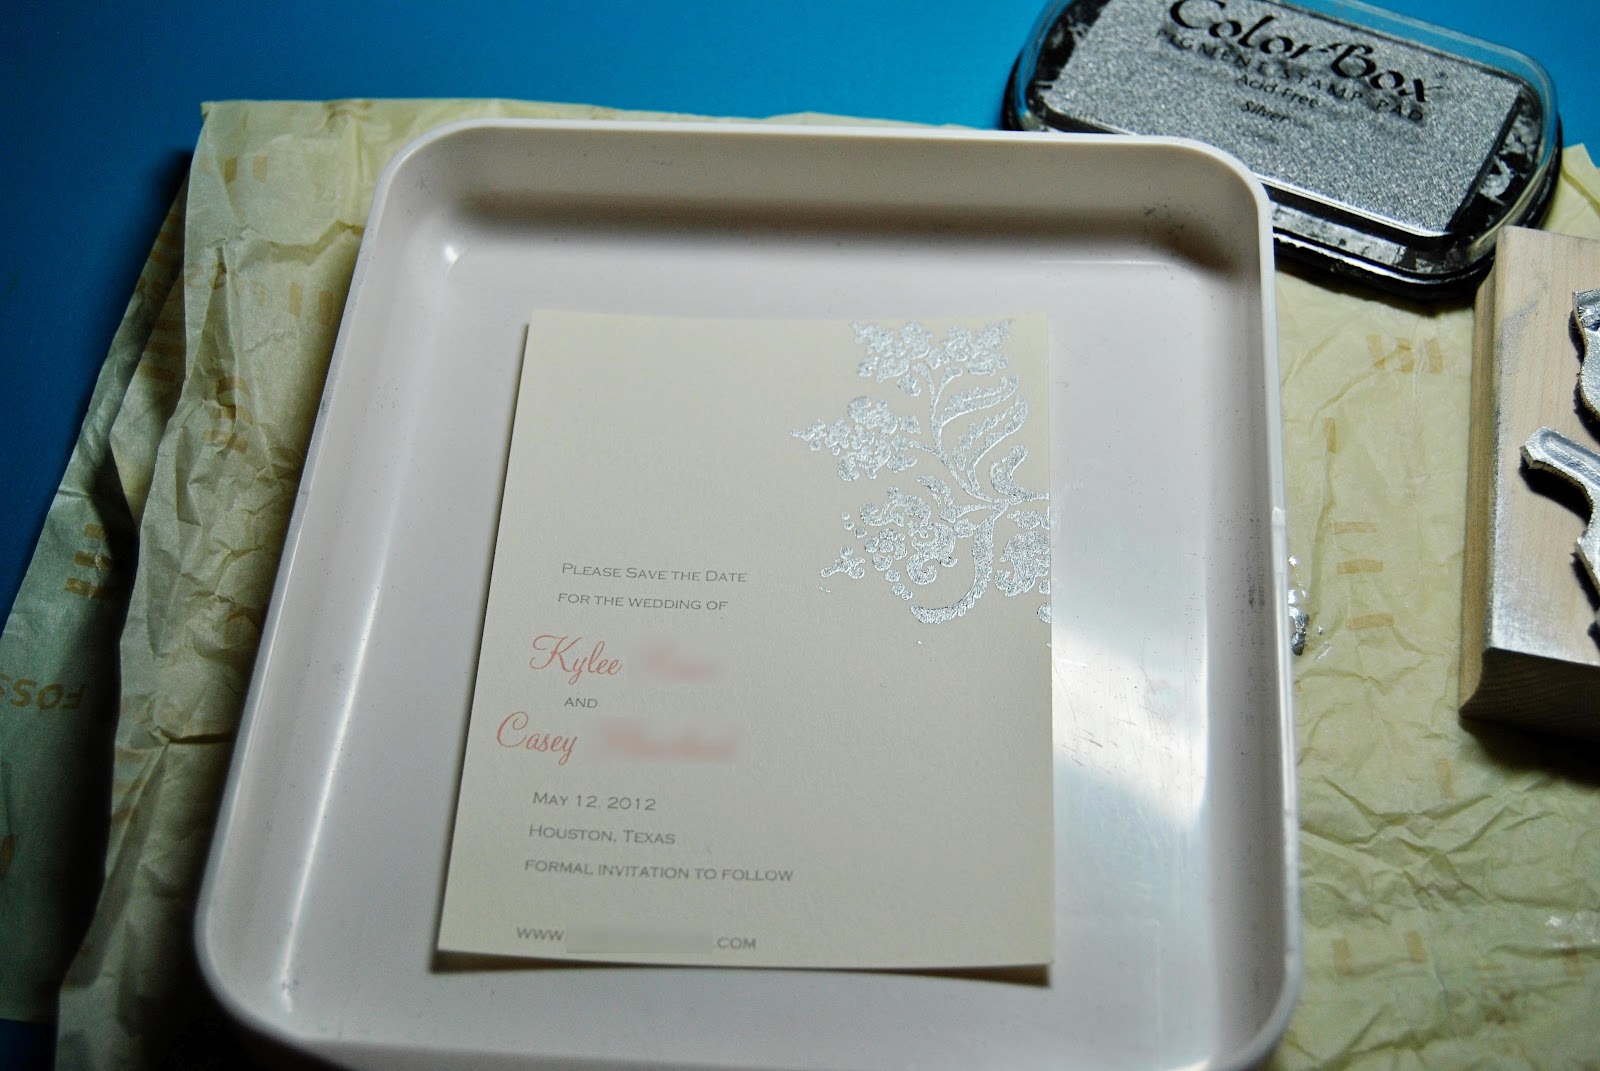
I picked up this nifty little tray at michael's, you can also get one at paper source I bet you could find them at most craft stores. It has a little hole at the bottom so you can pour the powder out.

Pour the powder over the stamp, just like so.

Pick it up and shake off the excess, then pour the powder back into the jar BEFORE turning on the embossing tool. The last thing you want is embossing powder everywhere. Also make sure your stamp pad is covered and your stamp is out of the way.
Pictures wouldn't do this justice so I had Casey assist me in video taping the effect. It's PRETTY COOL

TA-DA! How cool is that?! If you already knew about embossing you probably aren't impressed but I just learned about it and I think its amazing!
The heat embossing tool I use is Zap! brand, embossing raises the stamp and makes them glittery, foil-y, or glossy all depending on the powder you use.
I did the save the dates with the silver color box ink pad. I discovered the versamark pad after the fact, it is clear so you can use different color embossing powder without needing different color ink. It is also more sticky so you can stamp and leave it for a minute if you need to, there isn't a big rush to get the powder on.
Save the dates are important and you can make them nice and elegant but they do not have to be expensive! Also the powder and stamp I will be reusing over and over again. I already had the heat tool.
3 packages of 4 bar notecards: $9.00
3 packages of envelopes: $9.00
Silver Ink Pad: $7.95
Colonial Stencil Stamp: $9.50
Embossing Powder: $4.95
After taxes lets say $45-50 bucks, not bad when over half the supplies will be reused.
Embossing can be used for all kinds of things besides invites and save the dates...
I picked up a pack of cards and some nice bridal blue embossing powder, with all the weddings--anniversaries etc. coming up I decided to get some stamps to make cards! Here is a sample--I will make it much schnazzier when I am actually making a card for someone.


I can't wait to bring you more tutorials! Just the tip of the iceberg!
I'm so impressed with you! How did you learn how to do this!!!!?
ReplyDelete-- Stace Face